Friday, June 3, 2011

This Week...

Sandra standing at the edge

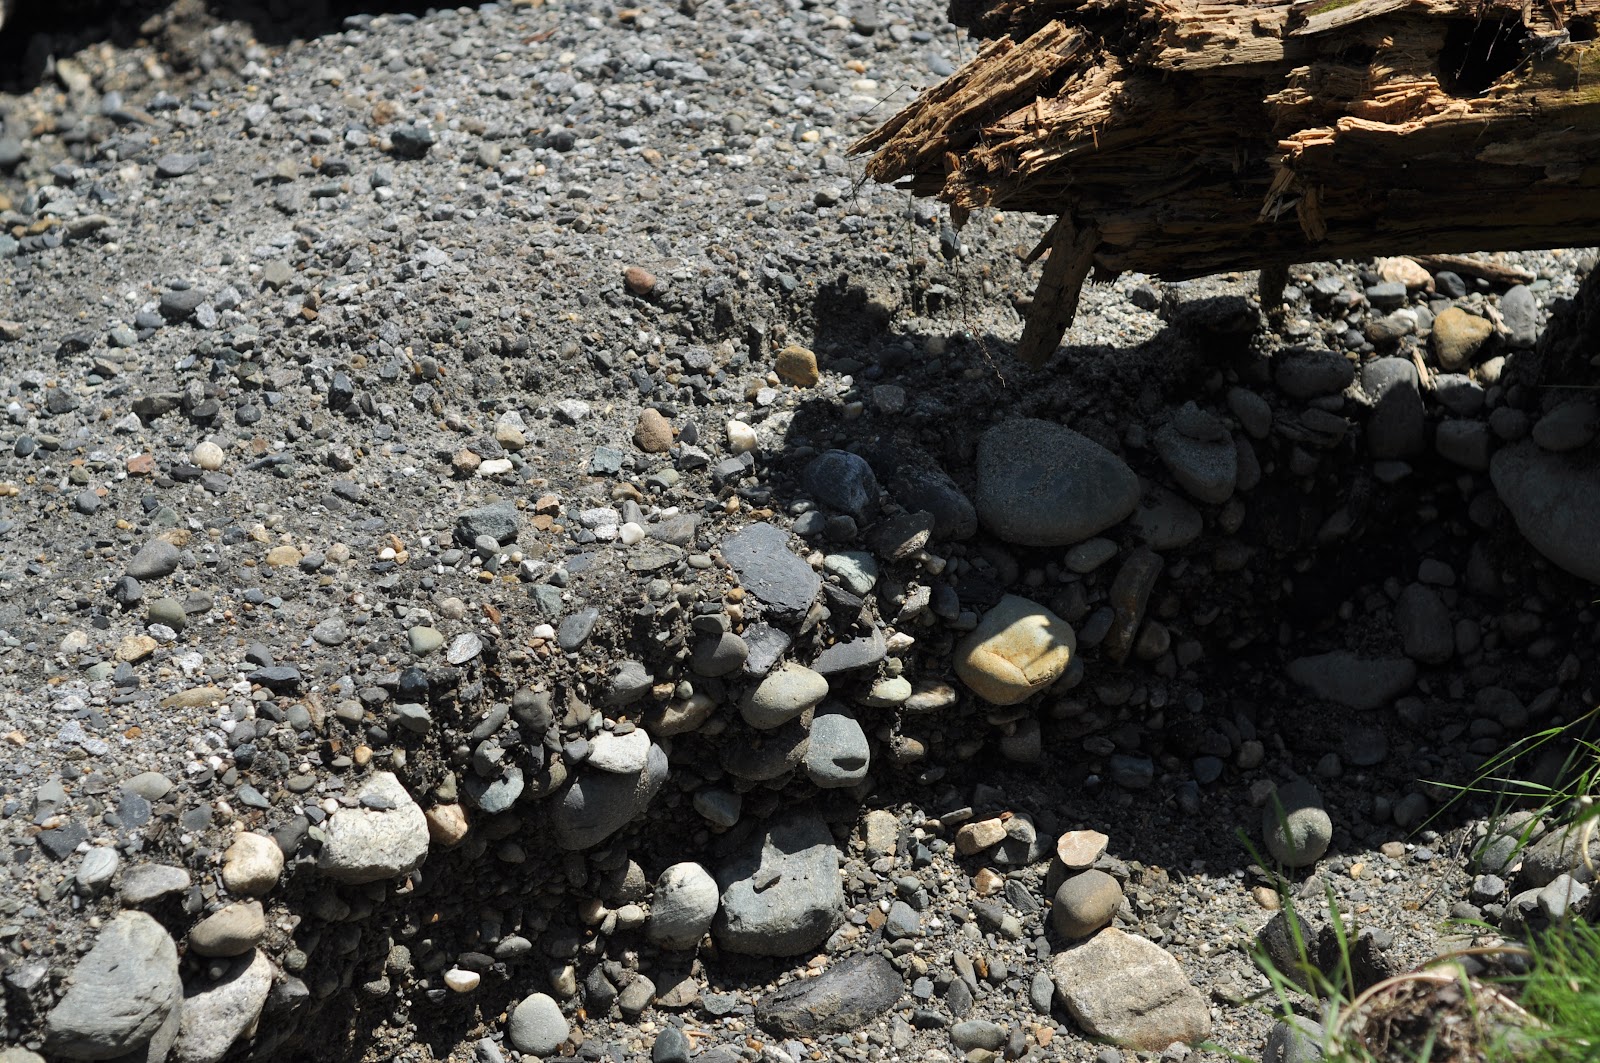
some insight into the formation of canyons

another culvert around the corner washed out too

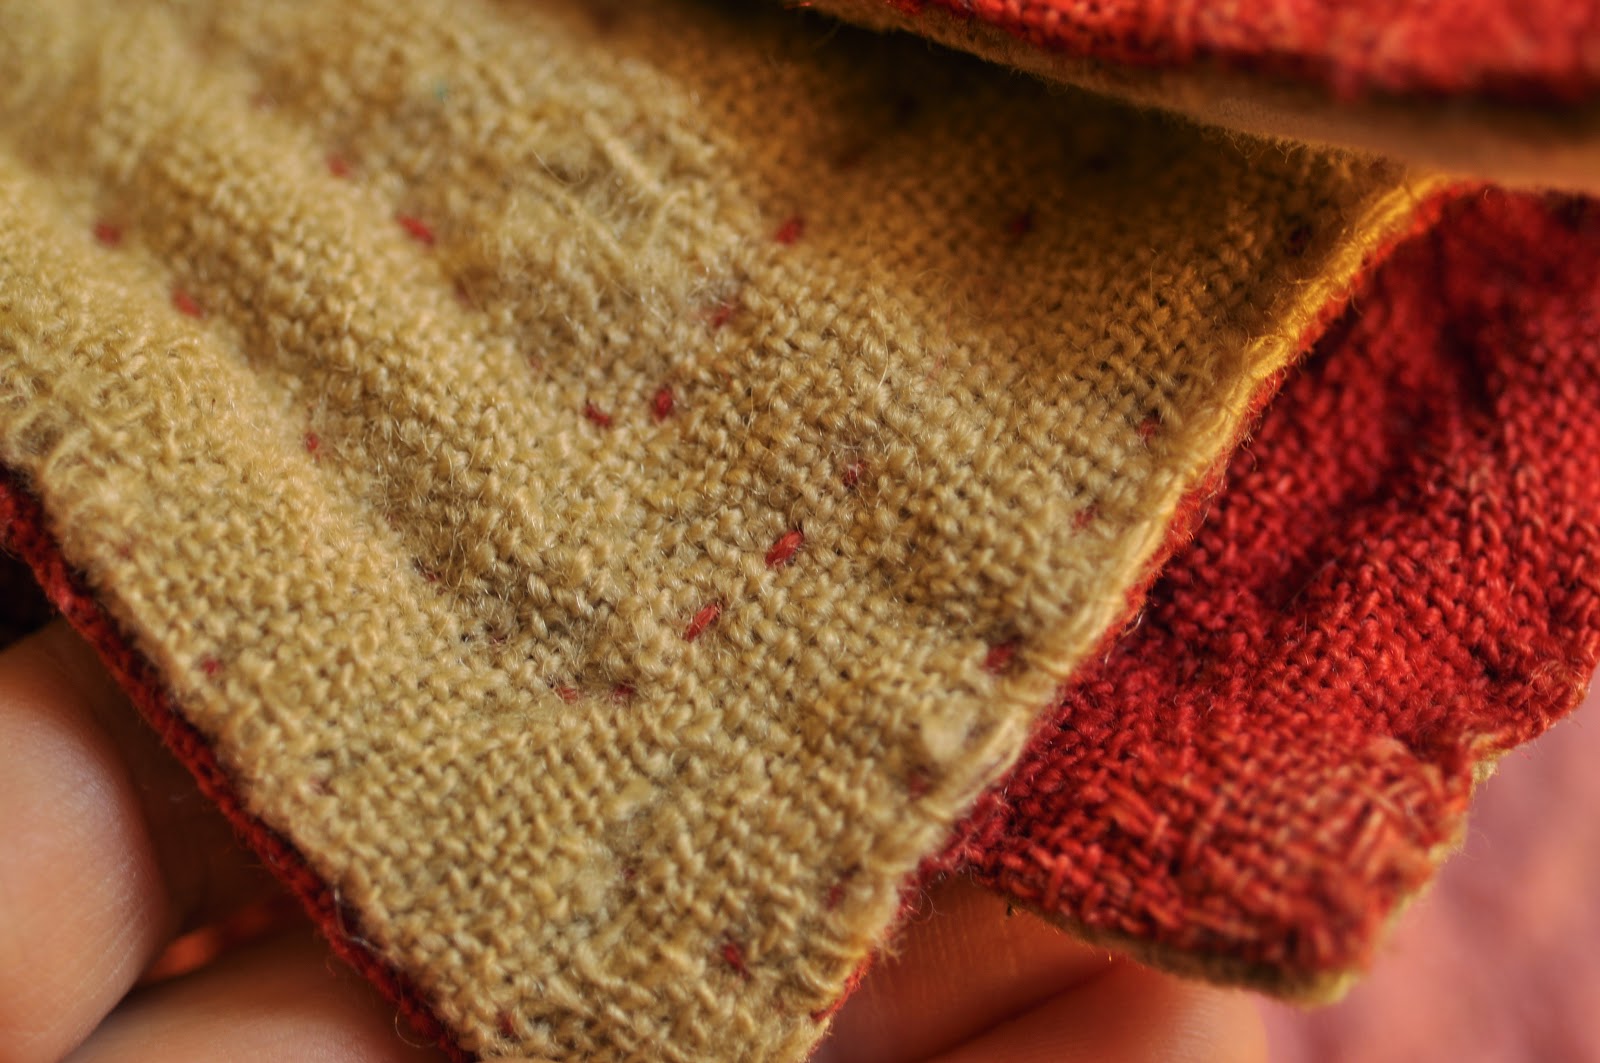
Susan Osterman's finished pillowcases


Our high excitement in the last week has been adjusting to the after effects of the flooding that hit our area on May 26th. We had severe thunderstorms overnight with torrential rain. Many roads were washed out from the heavy run-off, and local rivers flooded.

Memorial Day Weekend found us picking up the pieces and figuring out how we were going to make due with some changed circumstances. At the school, the upper driveway is not passable by vehicle, and the ditch in front of the property is badly washed out. The dye gardens are sodden and the ground completely saturated with water, to the point where we have to drain the big dye vat in stages so our leach field can actually absorb it.

The scene around the corner is a great deal more dramatic...Kate's road is completely washed out at the culvert. She now has a wonderful moat, keeping all but the most intrepid dog-walkers from wandering by. With the help of a good friend she was able to rig up a small foot bridge to cross the brook, and has been able to use a neighbor's car to run necessary errands. But she has been enjoying the quietness and peace of not being able to do everything as usual.

Just down Eaton Cemetery road, the road is mostly washed out at the culvert where the same brook goes under the road. You can walk over it, but you can't drive a vehicle past. Both of these culverts are so big that they need to be custom-fabricated, so it will be some matter of weeks before these roads are repaired and useable once more.

In driving around the Montpelier, East Montpelier, Barre, Plainfield, and Marshfield area, it is remarkable to see all the damage caused by this one storm. and to understand more clearly about the power of water to change things. Some of what i have seen is truly incredible, from cars underwater on the side of a road, to deep washouts down to bedrock, houses that have had their foundations all but washed away from underneath them, mud thick and caked in backyards and along city streets, and silt and stone fields where brooks are rivers have carved new pathways.

On a lighter note, Susan Osterman finished her linen pillowcases and brought them in for us to see. They're gorgeous. They feel very durable and you can tell by touching them that they will become washed into a rich heavy softness over the years, and will most likely become treasured family heirlooms. Hats off to you, Susan, for beginning this project of weaving your own bed linens, which no one else here has completed so far (except for Norman, of course).

Friday, May 27, 2011

The Dye Plants in Our Garden

second-year Woad flowering

two-year-old Madder plants

Yarrow

self-sown Alkanet

Weld

Tansy

Baptisia - False Indigo


We've been growing some plants in a dyer's garden around the barn for the last few years; currently we have tansy, woad, weld, madder, yarrow, false indigo, alkanet, and golden marguerite under cultivation, and there is plenty of queen anne's lace and rudbeckia growing wild along the roadside nearby. I'll do a quick run-down of the colors these few plants yield up to yarn when used as dyestuffs.

Tansy (Tanacetum vulgare), which is toxic to all mammals if ingested, is a hardy perennial which will grow rampantly nearly anywhere. Its flowering tops make a great mustard yellow color on wool and silk with an alum mordant, and its leaves can dye from greyish green to dark green, depending on the mordant used.

Woad (Isatis tinctoria), is a self-sowing biennial plant whose first-year leaves can be used to make pale blue shades on wool. Older leaves produce darker blues, and mature leaves can dye a deep blue-black when used with madder. It is substantially less potent a dyestuff than indigo, but makes very lovely shades of reds, violets, purples, and green, when used with other dyes as a top or bottom. It makes a beautiful plant in a border, with lovely basal rosettes the first year, and then tall stalks topped with sprays of brilliant lime-yellow flowers the second year, that transform into handsome black seedheads.

Weld (Reseda lutea), is also a biennial that starts with a basal rosette the first year, and develops a tall spikey flower stalk the second year. It is the oldest known plant color fast form of yellow dye in the world, used primarily in Europe.

Madder (Rubia tinctoria), has been one of the most widely known and used dye plants since antiquity. The three-year-old roots are harvested, washed, and cut up. When ground finely with water and made into a decoction with baking soda, it creates an incredibly colorfast dye, ranging from red, purple, orange, yellow, and brown, depending on the mordant.

Yarrow (Achillea millefolium), is a vigorous perennial plant with aromatic gray-green foliage and yellow flowerheads. The flowers make a beautiful yellow dye when mordanting with alum, while the whole plant can create lovely rich olive tones when mordanting with iron.

False Indigo (Baptisia tinctoria - with yellow flowers, or Baptisia australis - with blue flowers), is a hardy perennial shrub that makes a very handsome garden plant for its beautiful foliage and pea-like flowers. It yields a pale blue dye, so cannot be considered any sort of substitute for true indigo.

Alkanet (Anchusa officianalis), is a self-sowing annual in our northern Vermont climate, and is a very pretty plant producing beautiful deep blue flowers mid-summer to frost. As its roots are the part used for dye, it's not a practical plant for us to cultivate for actual use because we can never collect enough mature root stock from a plant that dies back completely every year, but we like having it in the garden nevertheless. It is not considered one of the more lightfast dyes, but depending on the mordant can yield a range of color from grey-blue, to purple, to purple-black, to deep mauve.

Golden marguerite (Anthemis tinctoria), is a perennial plant in the aster family, also known as Dyer's Chamomile. It has a clumping growth habit and requires very little care, so is an easy option for the dye garden. The flowers will dye a yellow color with an alum mordant, and a deep golden hue with a chrome mordant.

Queen Anne's Lace (Daucus carota), is a prolific wild plant in our area, and its flowers yield some of the most electric and most subtle colors I have ever seen. With no mordant, it produces a delicate pale ivory color, but using alum, one can create truly vivid shades of chartreuse. It is reasonably colorfast and reliable.

Black-Eyed Susan (Rudbeckia hirta), is another wildflower growing along the dirt roads near the school. The whole plant used a dyestuff can yield a range of color from pale yellow, golden yellow, and olive green, mordants used being alum, chrome, and iron.

These are just a few of the vegetal dyestuffs we use in our summer dye workshops. Typically we will also include indigo, cutch, black walnut, saxon's blue and green, sumac, logwood, cochineal (when available), fustic, osage, brazilwood, iron buff, prussian blue, lac, bottle green silk, and some overdyes as time allows. So you can see, it is a really full weekend with multiple vats going all day long in succession. Each participant leaves with a beautiful swatch booklet with samples of all the work, including whatever yarn they bring to dye in the vats. Truly a wonderful experience, if I do say so myself.

Friday, May 20, 2011

Dye Workshops This Summer

working the black walnut vat over an open fire

yarrow flowerheads in the vat

skeins drying

more skeins drying

tweaking the urine vat

indigo skeins oxidizing

a mother and her two daughters who came to a summer dye class

removing yarn from the saxon's blue vat

a day's work drying on the line

skeins drying at the Twin Pond Retreat workshop last summer


The warmer weather is here in north central Vermont, and that means it's time to do some outdoor dyeing!


We'll be offering three different natural dye workshops here at the school, and another at the Twin Pond Retreat Center in Brookfield, VT.


The Cotton & Linen class will be held on June 18th & 19th. The primary dyes for this class will be indigo, fustic, cutch, cochineal, brazilwood and logwood. The pre-mordanting of cotton and linen will be covered in depth as this step is crucial in achieving a lasting and deep color. We will sample some of the colors used in the 18th & 19th c. called Prussian Blue, Egyptian Purple and Iron Buff.


The Wool & Silk class will be held on July 9 & 10. In this two day workshop we will not only sample a variety of colors but also actually dye quantities of yarn for future weaving projects. The primary dyes will be indigo, madder, fustic, cutch, cochineal, brazilwood and logwood. With the use of different mordants and overdyeing we will achieve some of the long forgotten colors of Bottle Green, Venetian Scarlet and Saxon Blue.


On July 23 & 24 we will be offering a new Indigo Dyeing Intensive. This two day workshop will feature the preparation and use of four different indigo vats: lye/hydrosulfite, copperas, zinc lime, and the traditional urine (or sig) vat. On Day One, each of these vats will be set up from scratch and then used to dye cotton, linen and wool yarns, as well as fabric. Day Two will focus on the traditional Japanese and African resist techniques - Kasuri, Shibori, and Plangi.


Last year Kate taught a course in Dyeing With Locally Grown Plants at the Twin Pond Retreat Center. Kate & I will be teaching there again this year on the weekend of August 27 & 28. This two day class will focus on using only the dye materials that can be grown or harvested from the wild here in Central Vermont. The dye garden at the school now has madder, woad, weld, alkanet, dyer's greenwood, tansy and a wide range of yellow flower dyestuffs. We will collect flowers in the wild, tree barks, nut hulls and some different roots. The mordants will primarily be alum and iron but we will achieve a wide color range by overdyeing and color mixing. For more information about this course, or to register, you can contact Twin Pond directly through their website.


These classes are a lot of fun, and some very jam-packed experiential learning as well. From picking fresh plant material in our dye gardens and alongside country dirt roads, to all the mordanting, vat set-ups, and skein preparation, the actual dyeing process is a fabulous three-ring-circus of mysterious and marvelous natural chemical process.


It's still early, so there is still space available in each of these courses, but if you're interested, don't delay in getting in touch with us to sign up, as they do fill quickly.


Saturday, May 14, 2011

France In Vermont

lunch under the kiwi arbor


Richard

Zoe

Kate

Zoe examining the glazing

measuring a fold

Kate determining ends per inch

Welsh quilts

a finer English quilt with silk backing - notice the line marking!

the glazing readily apparent on this very fine wool singles top

a few corner finishing details

the fine & the rough

three different examples of ground stitch patterns

the red one - my favorite example of Welsh quilting

a very fine wool backing for a top-glazed quilt

a fine linsey-woolsey backing for this pink wool top


a corner detail from the red quilt


On Friday, Kate, Zoe, & I went to visit Kate's friend Richard in the Upper Valley, to take a good long look at his collection of antique wholecloth quilts. We really lucked out...it was a gorgeous sunny day...and we set up an al fresco luncheon under the kiwi arbor in the garden. For the next two hours we enjoyed the day & the company, lots of wine-enriched conversation, and a delightful springtime meal of mango rosemary chicken, watercress salad, crusty bread & cheese, & strawberry rhubarb pie. I really felt like I was spending the afternoon in France. It was a beautifully elongated & relaxing moment, that lunch.

Finally we adjourned indoors to view the quilts, which was totally tremendous because we could touch them, photograph them, examine them under a glass, measure all the details. If any of you have ever been to view textile collections by appointment at major museums you'll know how impossible most of that is...they have white-gloved handlers, you can't touch anything, & you may or may not be able to photograph anything.

So we spent a few hours looking carefully at everything; Zoe & Kate, because they are trying to get a real sense of how the glazing was done in a calendar press...how wide the fabric sections were on the average, the dimensions of the pleated folds in a pressed stack, whether the yarns were singles or plied, how many threads per inch, & perhaps most importantly, to fix their impressions of the glazing with visual & tactile senses firsthand, so that they would have a strong feeling for how close to the real thing their experiments with glazing materials & methods are getting.

And I went, to take the photographs, but also because I've been planning a wholecloth quilt project for over a year now, and needed to see some good examples of Welsh quilts to understand more about traditional design & construction, & about the quality of the top, the batting, the backing, the stitching, & the thread. All I can say is that it blew my doors off, seeing these pieces. I love hand stitching as much as I love dyeing & weaving...& I was fairly giddy with delight at getting to examine the real thing to my heart's content.

The Welsh quilts are my favorite because they are often smaller, made of rather coarser wool for the top & backing, they're filled with wool batting, & they are not so fussy or complicated with regard to their stitch designs. They have an air of rustic handmade charm that embraces the imperfection of a not quite straight line of stitching, or a panel of fabric cut to fit because they are not wasting one precious bit of it. Their texture is very tactile, & the relief in the stitch patterns seems very apparent because of the relative "roughness" of the fabric.

There were also several very good examples of much finer work; fancier wholecloth quilts made with much finer wool singles tops, with silk, wool, or linen backings. The glazing was all on the finer pieces, & their stitch patterns were very complex, similar in appearance to matelassé, as the batting was very thin, and the whole piece would often present a much more uniform, flatter surface. The glazed quilts were larger, & often with cutouts to accommodate bed posts, so in general, their whole style was much more refined and less obviously made by those who intended to use them as bed coverings.

After a few hours with Richard & the quilts we departed for home. Now there will be more work, more experiments made, as we go into this summer. I will be posting more about the glazing, & more about the step-by-step details of constructing a wholecloth quilt from beginning to end, so stay tuned. If you have any questions about this, don't hesitate to make a comment. I'll be answering in the comments section.

Friday, May 6, 2011

Brownington Road Trip

Kate at the front door

Lynnette 

the man's frock coat in question

Lynnette loading the raddle

Kate and Lynnette beaming on

Kate tying on to the cloth beam rod

our indigo and natural wool singles warp

Kate adjusting the height of the harnesses

beginning the weaving...


On a dreary, cold, and rainy day last week, Kate and Lynnette and I piled into the car and drove up to Brownington to set up the warp we'd made on an old barn loom from Morrisville at the Old Stone House Museum. It's a far piece to get there, as it's way up in the Northeast Kingdom, just north of Orleans, where the Ethan Allen furniture factory still lives and breathes.

Brownington proper is a gorgeous old village, and looks very historic, situated on its wide green hilltop. We easily found the museum, as the stone house itself is the dominant architectural feature of the landscape and can't be missed. Once we got inside the building, setting up the loom was pretty straightforward, as we'd brought a good barn loom tool kit and could set to rights the few things that needed fixing before we could beam on. Susanna Bowman, the museum's Education Program Coordinator, was there to observe the process, & to warm us up with hot coffee & lively conversation.

Working smoothly as a team, everything went off without a hitch, as Kate, Lynnette, & I are all well-versed in getting a loom dressed. After fine-tuning a few details, Kate started the weaving just to see how the fabric would look, and to do a final check for any threading errors (there is one...but nothing that won't come out in the washing & fulling...so if you go visit the exhibit, see if you can spot it!).

After the major portion of the set-up was complete, Lynnette & I wandered off to look at an old pipe organ in the front hallway, & wound up exploring each of the four floors of this remarkable building. There are rooms & rooms filled with old treasures from the surrounding area in the Northeast Kingdom, each thing more amazing than the last. And the stone house is a great old structure, with wide wooden floorboards, lumpy plaster wall, and deep-set windows. It's a true gem among Vermont historic sites.

Evidently this is a very active historical society (Orleans County) & there are many educational programs & events that happen at The Old Stone House Museum year-round. There is more information about that on their website, if you'd like to learn more.

The reason we were asked to set up this loom for them is that they wanted an active demonstration of weaving a historic fabric documented by a piece in their collection (see man's frock coat above) because they're about to open a two-year-long exhibit that will be all about textiles as made at home by women in the Northeast Kingdom during the first half of the 19th century.

The exhibit officially opens on May 15th, & afterwards their hours through the warmer months will be as follows:
Monday & Tuesday closed
Wednesday through Sunday: first tour at 11A, closes at 5P

There will be a live weaving demonstration on Saturday afternoons. Maybe you'll see one of us up there!


Friday, April 29, 2011

Susan's Linen Project

Susan Osterman threading


Remember we did a post about Jerry Osterman and his spinning a few weeks back? Well, this is Susan, Jerry's wife, who is one of our local students from Williamstown. She's been painstakingly threading this linen project to make sure that all the stripes come out just right in the pattern, not to mention the fact that linen is a bear to warp and beam on.

She's wanted to weave herself a set of linen sheets, something that no one else at the studio has attempted yet (except Norman, of course!). It's a pretty ambitious endeavor. So to warm up to the linen and get a taste of what a sheet project will be like, she's making a set of pillowcases first.

Her warp is a 2's/40 normandy linen in white with brown stripes (2's/30 linen hand-dyed with cutch), weft in white.
It's a plain weave, because Susan liked the look of that more than weaving it in a twill. I'll update as she progresses.

Friday, April 22, 2011

Setting Up For a Museum Exhibit

winding spools to build the warp


A sweet little collaborative project came our way in recent weeks. Kate was approached by the Old Stone House Museum in Brownington, VT to set up a loom for a year-long active exhibit on-site. We will be reproducing the fabric for a piece in their collection. The finished product will be a 2/2 twill in wool singles to make a man's frock coat with.

First I skeined several pounds of wool singles, and then dyed it a deep indigo in a two-day process. Next, the warp was built, with the same indigo and a natural wool, which was a great experience in getting more acquainted with using a tricky yarn and multiple spools coming off a skarne, something I am getting more comfortable with, project to project. There are specific hand movements and grips which facilitate greater ease and efficiency in handling the tension and the 'stickiness', and while watching Kate do it has not always made so much sense to me (the precise way she uses her hands and fingers), I am finding, on my own, that each of these maneuvers has its purpose, and that it really works and can actually make skarne warping with many spools fun!

We dressed one of our looms and will do all the threading at our studio, then take the whole assembly off our loom and bring it up to theirs, where we will get everything set up for their demonstration of weaving. It sounds like a wonderful exhibit, and I hope I get a chance to do a bit of the weaving, as the fabric in their sample looks lovely.

It sounds like they have some great things going on up there. I'll try to find out more about how this weaving piece fits into the whole exhibit. Stay tuned for more developments on this.

And for more information about the Old Stone House Museum, you can visit their website.